The Delicious Chemistry of Brining
The brining process changes the structure of meat on a cellular level, hydrating through osmosis and retaining moisture through denaturation caused by a salt-to-protein chemical reaction. In other words, brined meat absorbs salty water then the salt reacts with the proteins creating little pockets that trap moisture resulting in meat that is ultra-juicy, tender, and flavorful.
Special Equipment for Brining
Always use a non-reactive food-safe vessel that is large enough to hold your meat while being surrounded and fully submerged in brine yet small enough to fit inside your refrigerator. You can purchase special brining bags at most grocery stores, but we find basic stainless-steel stockpots, hotel pans or large, plastic food service tubs work just as well.
What Meat to Brine
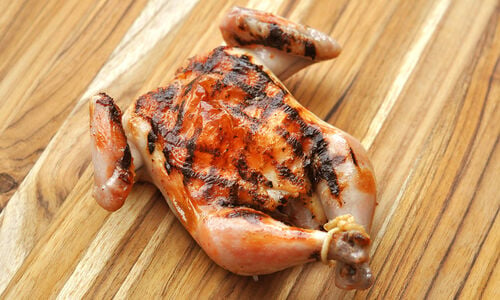
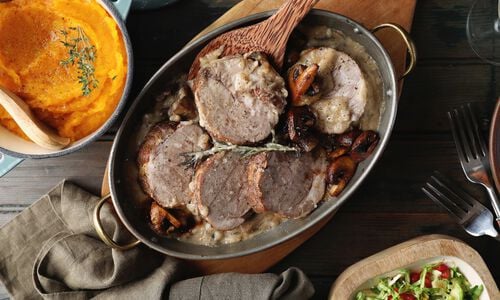
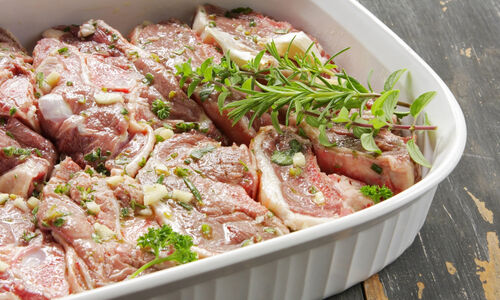
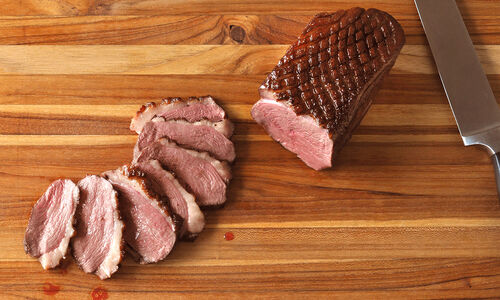
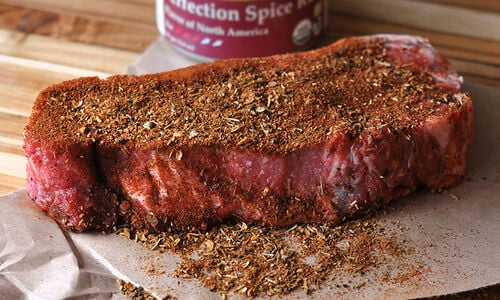
Lean, mildly flavored meats that are usually cooked to a high internal temperature are great candidates for brining, such as turkey, chicken, capon, poussin, veal, and pork. Naturally full-flavored, rich meats, like beef, lamb, venison, and bison don't benefit from brining, their natural flavor should be left to shine on its own.
Turkey in the Brine
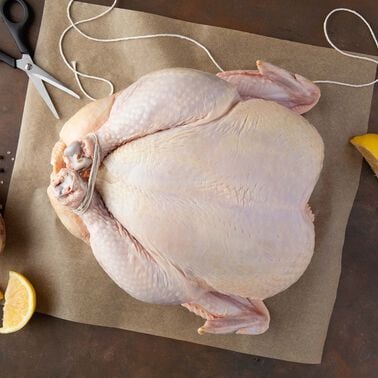
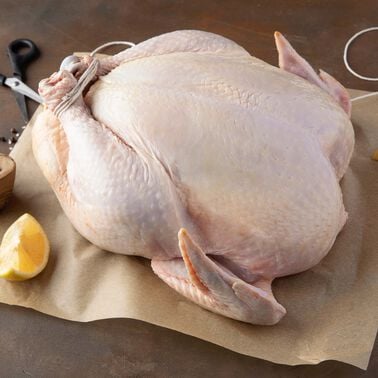
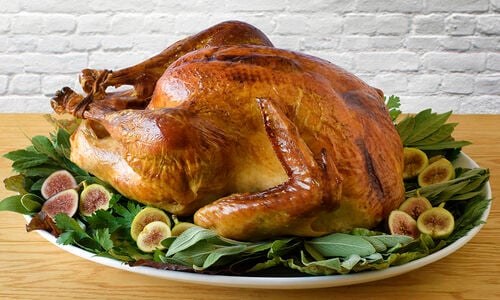
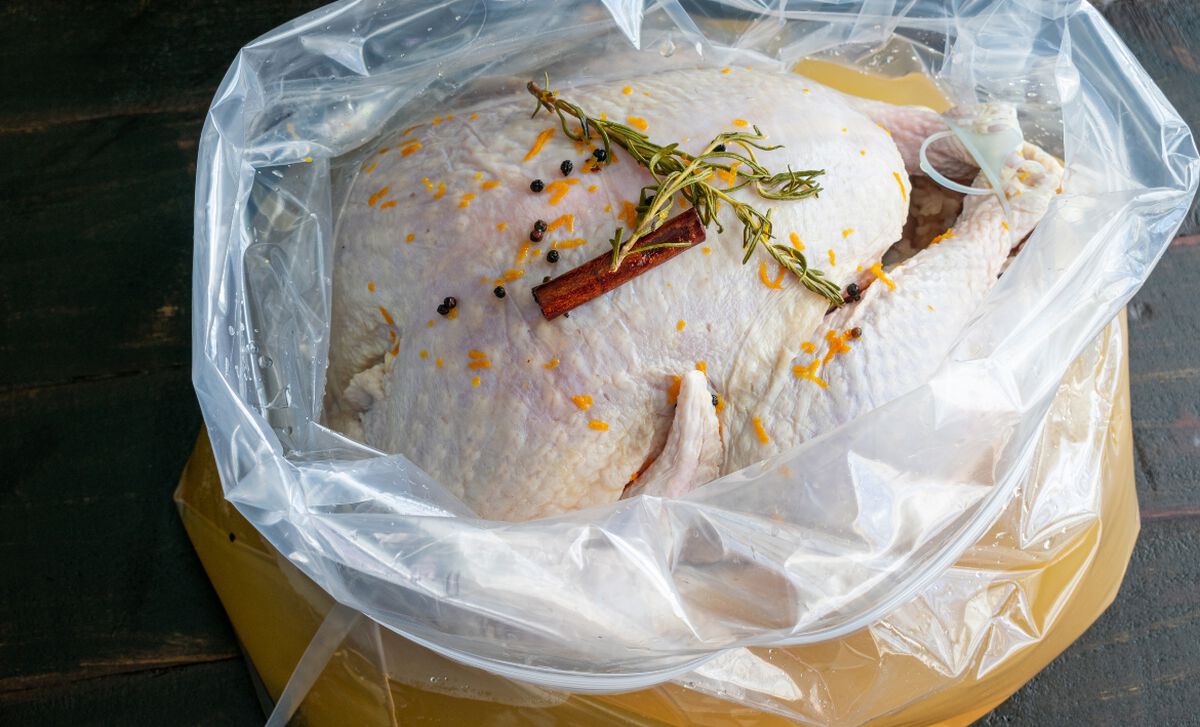
Many people like to brine turkey for Thanksgiving dinner. Because of how large turkeys are, the brining vessel needs to be huge. Some people use coolers and fill their brining solution with ice cubes to maintain temperature for 12 hours or more of brine time. There are also large brining bags designed to hold an entire turkey.
If you’re brining a turkey in the refrigerator you may need to remove or adjust a shelf in your refrigerator to accommodate it. Supplement with gel icepacks around the turkey to bring down the temperature of the large container quickly without affecting anything else that’s in your refrigerator. When brining whole birds, you may also need to weigh them down to keep them fully submerged. A heavy lid or plate that fits inside your container under its own lid works well.
Making a Balanced Brine
The salt-to-water (and sometimes sugar) ratio is probably the most important factor in creating a successful brine. We recommend using Diamond Crystal kosher salt to brine as it has a clean taste and is free of additives that can change the final flavor. Sugar, although not a must, is a fantastic brining add-in. Sugars add flavor and facilitate browning. For all-purpose brine, a good rule of thumb is: ¼ cup of kosher salt and ¼ cup of sugar for every quart of water. You can also add aromatics or other flavorings to intensify the seasoning, like whole peppercorns, garlic cloves, dried herbs, whole spices, citrus or other fruit, mirepoix or fruit juices.
Time it Right
The biggest challenge of brining is probably allowing for enough time before you plan to cook. In general, allow for about an hour per pound of meat. When brining birds, you may also want to allow time for air-drying the skin after brining. The downside of meat absorbing all that water is the skin is much harder to crisp. To remedy this, after brining and rinsing, pat the meat dry and lay on a sheet pan, uncovered in the refrigerator for several hours, up to overnight. Exposure to the refrigerator's cold air is enough to dry out the skin for crisping.
When cooking brined meats, the meat juices are often too salty to make a pan-sauce. It’s a good idea to have some demi-glace on hand for sauce-on-the-fly, just in case.
What About Dry Brining?
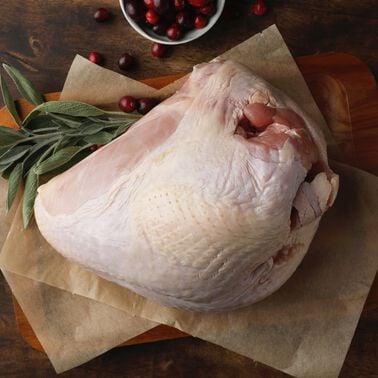
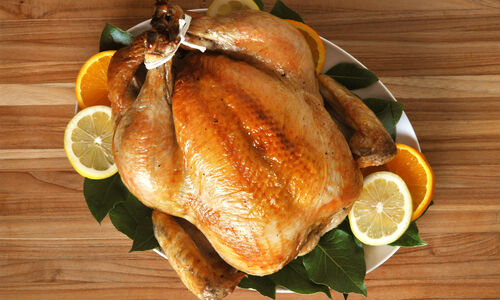
Because our turkeys are of such high quality, we usually recommend the dry brine method. Dry brining entails rubbing the turkey with salt, sugar and spices of your choice, and leaving it uncovered in the refrigerator for a day, or up to three days, before roasting. We prefer this method because it is easier to do and results in a crispy and extra-flavorful bird. If you can clear space in the fridge for the turkey, and have a pan to put the turkey in, you are ready to dry brine.
How to Dry Brine a Turkey
Before applying the salt and spice mix, ensure the turkey is fully thawed and patted dry with paper towels. Optionally, gently separate the skin from the meat, particularly over the breast and thighs. This will allow the dry brine to penetrate and help the skin to crisp in the oven when roasting.
To determine the amount of salt needed, a standard guideline is to use around 1 teaspoon of kosher salt per pound of turkey. If you're incorporating additional dry seasonings, herbs, or spices, blend them with the salt before application for an extra burst of flavor. Some classics include dried thyme, sage, rosemary, garlic powder, black pepper, and lemon zest. Once the turkey is prepped, sprinkle the calculated amount of kosher salt and spices evenly all over the bird, trying to get some under the skin for better seasoning.
Let it Rest
Once the turkey is seasoned, place it on a baking sheet or in a roasting pan, and loosely cover it with plastic wrap or aluminum foil to prevent any cross-contamination in the fridge. Allow the turkey to rest and brine in the refrigerator for at least 24 hours for smaller birds (8-15 lbs.) and 48 hours for larger birds (16+ lbs.).
After the recommended brining duration, you'll notice that the turkey's skin appears drier and tighter. Before you start cooking, it's essential to pat the turkey dry with paper towels to eliminate any excess moisture and accumulated liquid. This step ensures that the turkey's skin will crisp up nicely during cooking.
Dry Brining Tips:
- Make sure the turkey is fully thawed before dry brining.
- Separate the skin from the meat and rub some brine in there, too. We always recommend placing truffle butter under the skin before roasting, so you’ll be taking the first step by loosening the skin at this point.
- Plan for 3 days of dry-brine time for optimal results. Let the salt penetrate into the meat. If your turkey is sharing shelf space with other items, loosely cover the bird with plastic wrap, but be sure it gets at least 12 hours uncovered before roasting.
