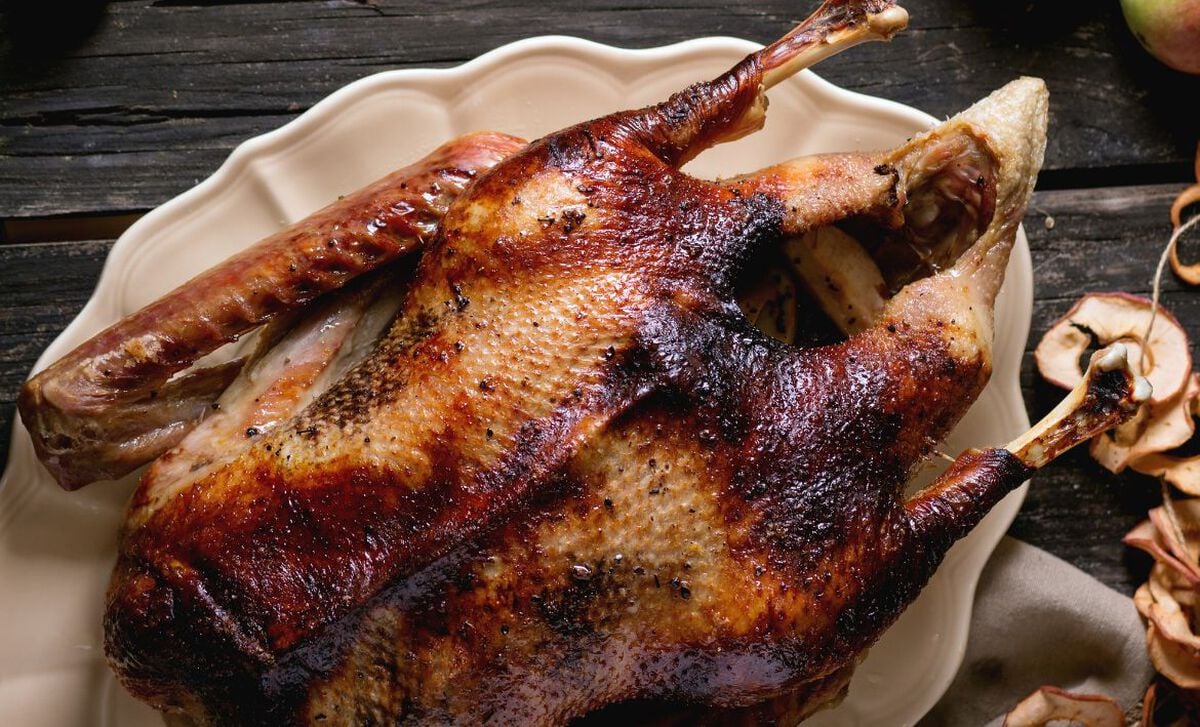
First Things First
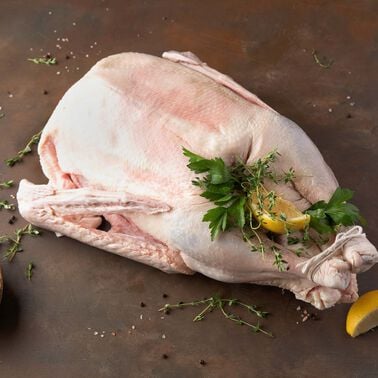
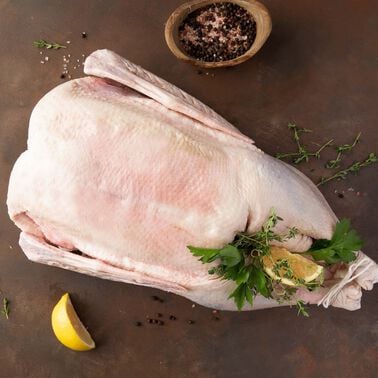
There are a few things to tend to before the goose is ready for the pan.
First, pull out all the excess fat from the cavity at the tail vent and cut it off. Save this to render later into a precious, flavorful fat for eating and cooking.
Next, prep the bird for easy carving. Remove the wishbone.
The Thigh Bone's Connected ...
Because the goose has strong tendons and joints for migratory flight, you must also loosen the wings and legs. Starting with the wings, chop off just the ends, at the first joint (this will prevent burning). Next, hold the remaining upper wing and extend it to reveal the ball joint; reach inside the bird through the neck cavity with your free hand, feel the rounded point where this joint attaches to the shoulder. Once you locate this joint, continue to hold the end of the wing to stabilize the joint, and reach back in with the knife to carefully cut through this ball joint from inside the bird. You’ll feel the wing bone break free from the bird, while the wing itself will remain attached to the bird by the unbroken skin. Repeat this entire process on the opposite wing.
Next, cut through the thigh joint where it connects at the small of the birds back, from the outside of the bird. Turn the goose onto its breast, hold the thigh and move it around to locate and extend the joint. Keep firm hold of the leg to stabilize the extended joint, with your free hand place the tip of a sharp knife at the joint, and carefully thrust the tip down into it; leaving the smallest possible slit in the skin, severing the tendons and loosening the thigh without cutting all the way through the meat on the other side. Repeat on the other thigh.
Afterwards, sew or use small skewers to close the cut slits. Now thoroughly rub the goose both inside and out with the juice of one large, fresh lemon and, lightly salt the inside of the cavity.
Truss the Goose
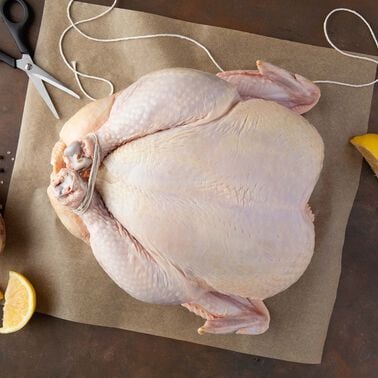
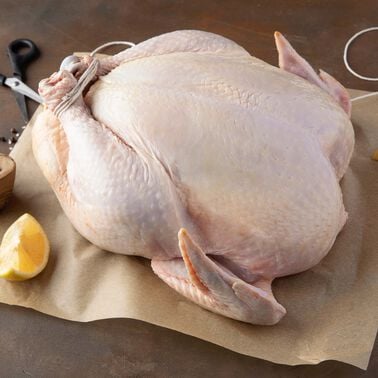
Simply run a long skewer completely through the bird, close to the shoulder, to secure both wings. Run a second long skewer completely through at the hips to secure both thighs. Bind the ends of the drumsticks together, above the tailpiece with a length of kitchen twine.
Pierce the Skin
This will aid in rendering the birds’ fat. Use the very tip of your sharp trussing needle to pierce the skin in several places creating tiny exit points for the escaping fat. Use your index finger and thumb to hold the skin taut when piercing the skin. Take care not to go beyond just breaking the skin; do not poke or pierce the actual meat.
Liquid Gold: Goose Fat
This steaming technique renders out the fat under the skin. Start by adding a couple inches of water to your roasting pan, and place the trussed goose breast side up in the pan, resting on an x-shaped rack. On the stovetop, bring the water to a boil, using two burners if needed. Once the water is at a hard boil, cover the pan with a tight-fitting lid and reduce the heat. Steam for 45 minutes to an hour for a 9 to 11 pound bird.
Check the water level in the pan periodically, and add hot water as needed to maintain steam and prevent it from burning off completely. Be sure not to add cold water, as it will disrupt the steaming process.
Once the time is up, remove the steamed goose from the pan and allow it to air dry on a platter for about 20 minutes or so. Carefully pour the liquid from the pan, being sure to save the several cups of precious, pure goose fat that rises to the top. This healthful and tasty fat, prized for cooking and eating, can make even simple sautéed potatoes almost unbearably delicious.
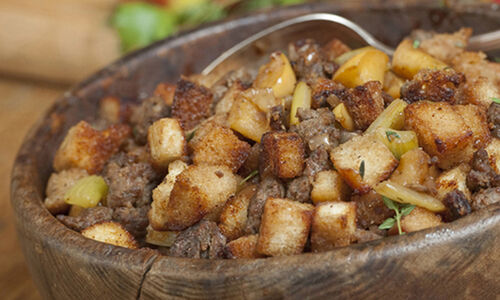
Remove the hip skewer and address the cavity. You can stuff the bird with a traditional dressing; or with a few sautéed aromatics, or just season the cavity with salt and freshly ground pepper, then put the hip skewer back in place.
One Goose a Roasting
Line the x-shaped rack with a doubled sheet of aluminum foil, then place the goose breast side down. Toss a mirepoix of one large onion, carrot and stalk of celery into the pan along with 2 cups (give or take) of red or white wine as a braising liquid.
Cover the pan tightly and braise in a preheated 325°F oven for about 1 to 1-1/2 hours depending on the size of your bird. Check on the level of braising liquid periodically, adding more as needed, and take the opportunity to also baste the goose with the pan juices. Towards the end of this cooking time press the bird at the leg, it should feel almost tender.
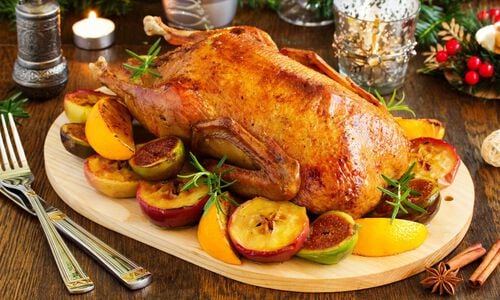
At the end of the braising time, take the pan out of the oven, carefully turn the goose breast side up and baste completely with the pan juices. Place the pan back in the oven to finish cooking. If the bird needs browning, continue cooking without the lid for about another 30 minutes. If it has browned and crisped to your liking, continue cooking for the additional 30 minutes with the lid in place, but turned slightly askew, or tent the goose with aluminum foil, shiny side up. In either instance, baste a couple more times. After the 30 minutes passes, press the leg, when done the drumstick should feel quite tender. Once you take the bird out of the oven, turn the oven off.
A Warm Cozy Rest
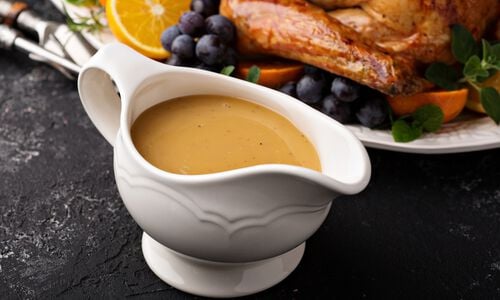
The goose will need a rest to allow the juices to settle back into the meat and the meat to firm up for carving. To prevent the bird from becoming greasy, remove it to a wooden cutting board with juice trough and place it back in the turned-off oven with the door ajar, letting it sit in the warmth while you make your gravy.
Quick Tip
Rendered goose fat is a wonderful fat, similar to duck fat, and can be used in the same way. For example, in place of a cold pat of butter, use an equal portion of cold goose fat. For a drizzle of oil, use a drizzle of slightly warmed goose fat, and so on. Just keep it in a tightly covered container in your refrigerator for up to six months, or you can freeze it and keep it indefinitely.
